Showing posts with label party food. Show all posts

Wednesday, September 11, 2013

Junior Minted Cheesecake Ball

It's apparent that I have a large family. Why? Because every few days I'm blogging about party food, cakes and celebrations.  Yes, I have a  family that keeps me busy with Party planning and baking like crazy. But Gosh, I love 'em for that.  It keeps me on my toes and it gives me the opportunity to come up with lots of new and fun recipes.  And yesterday was my nephew Ryan's Birthday party so I was in the mode of making.
Last year I had fun creating a Cheesecake Ball that tastes just like a Tootsie Roll. I used a little packet by the Duncan Hines company called "Frosting Creations."  Gosh I love how many of those flavor packs I've used to not only flavor my frosting, but I've used in cakes, cream cheese, chocolate and Popcorn.  Here's my plug...Go buy them, they're great!  Recently, one thing lead to another and since Junior mints are my all time favorite movie food, I came up with the idea to take my Tootsie Rolled Cheesecake Ball, tweak it and make a recipe for a Junior Mint one too.   Trust me, I couldn't make it quick enough.  What I really really like about this party food now that I've made it is that I cannot wait until Christmas since this peppermint flavored Cheesecake ball is going to fit in with all my holiday parties!  This flavorful Junior Mints appetizer was just like having Christmas in September.  I'm in Love! Oh, and Merry early Christmas...


Junior Minted Cheesecake Ball

2 blocks chilled cream cheese
1  Duncan Hines Frosting Creations peppermint stick packet (seasonal so get them when you can!)
4 oz pack Junior mint candy
3/4 c. sugar
1/2 c. powdered sugar
1/2 c. chilled butter
Shell~
1- 1/2 cup chocolate chips


With a mixer, cream sugars, butter, frosting creations peppermint packet and cream cheese until fluffy . Add Junior mints and mix just until they start to break up. 

 
Divide into two portions and scrape into the middle of pieces of plastic wrap.  ( I first tried foil here with out thinking about balling it up. Don't use foil.)
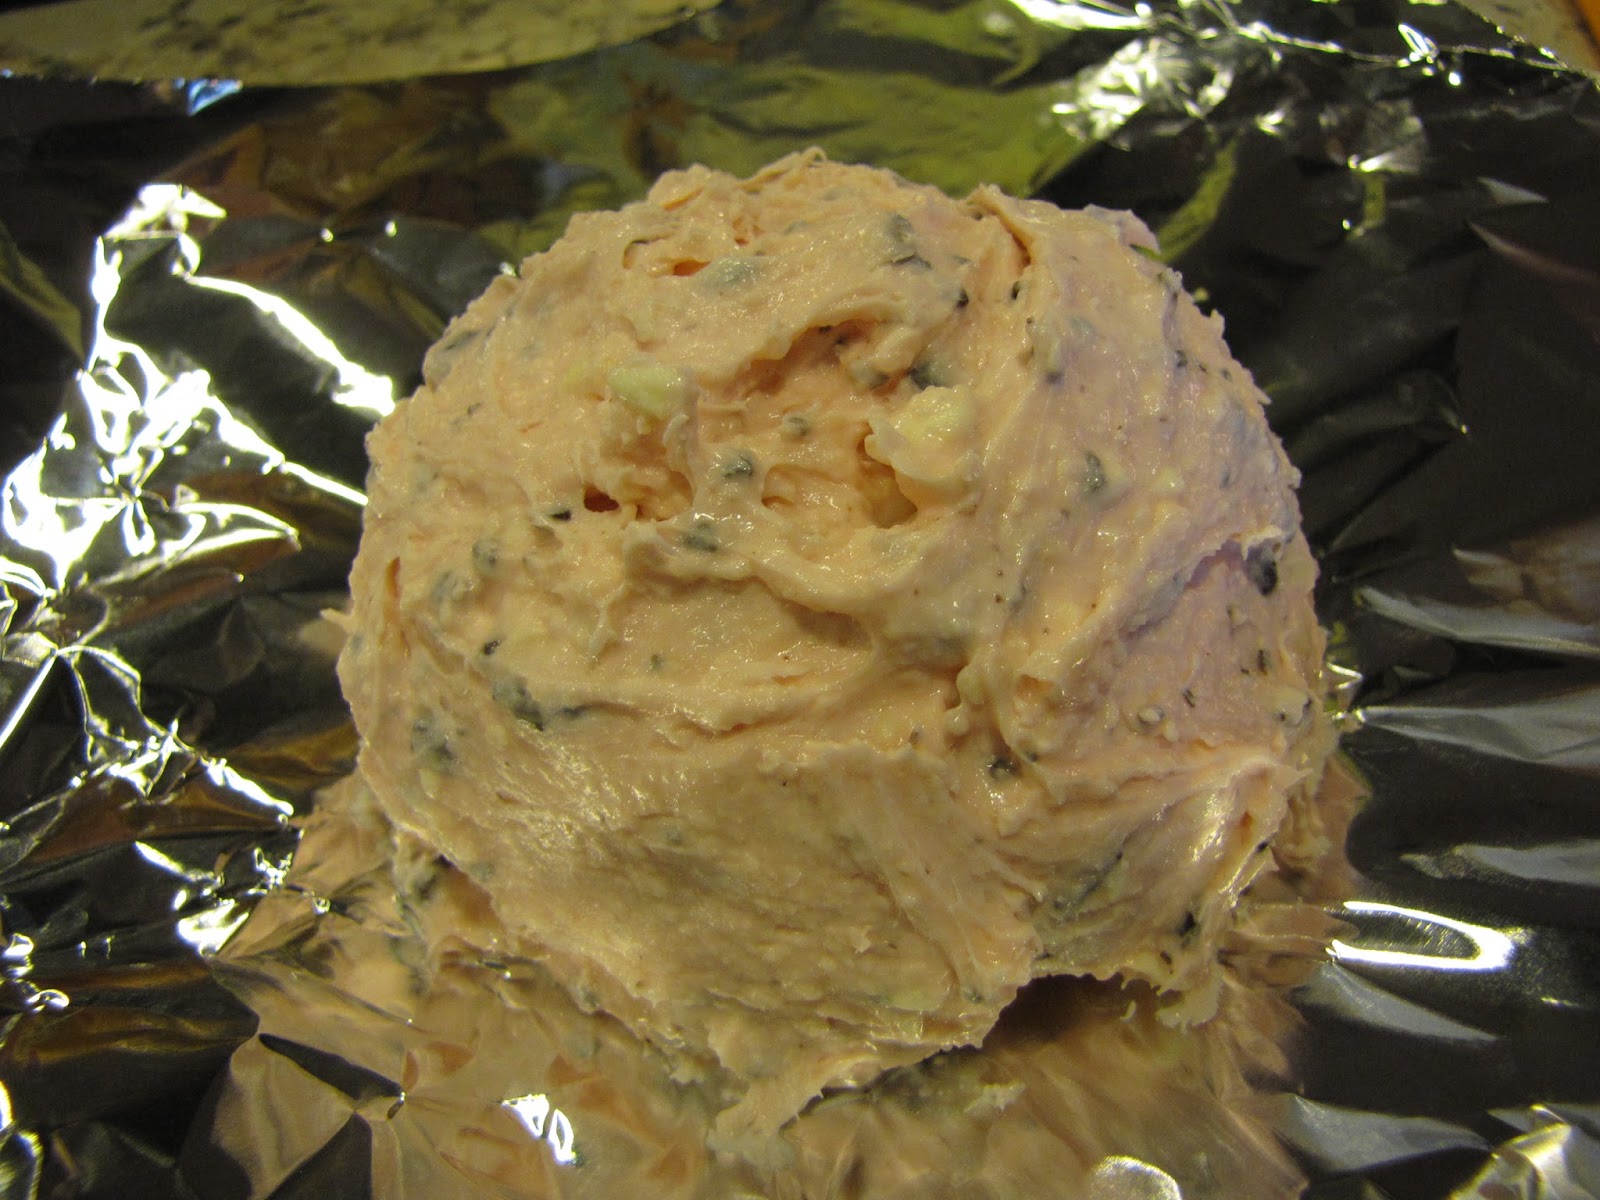
 
 
Gather up the sides tight so your mixture forms into the shape of a ball. Secure with a tight ribbon or rubber band so your ball holds its shape and chill it in the refrigerator for all least 8 hours or overnight.


When you are ready to coat your Cheesecake ball, in a large bowl, microwave chocolate chips for about 30 seconds at a time, stirring in between, until melted.  Place unwrapped Chilled Cheesecake balls on a piece of foil or a wire rack.  Drizzle with chocolate until coated.  You can even coat the bottom of your Cheesecake ball if you'd like.   Your ball with instantly harden and is ready to serve. If you used foil, once hardened, you can cut off and trim the excess pieces of chocolate at the bottom with a hot knife. 
Serve with an assortment of cookies.


Oh so very minty and yummy!  As if I wasn't already obsessed with Junior Mints, now I have a great big Junior Mint gracing my kitchen counter... or at least until I eat it all!

Check out my Tootsie Rolled Cheesecake Ball here for another tasty recipe:

http://celebratemywhimsy.blogspot.com/2013/09/tootsie-rolled-cheesecake-ball.html

Happy Celebrating~

Sunday, September 1, 2013

Tootsie Rolled Cheesecake Ball

It's just around the corner...Halloween! It seems the last 4 years we've been working our Church's Blocktober event so I haven't had a party or been to a party in awhile. Then our friend decided to have a dress up poker party and I was feeling like a kid myself, planning an outfit with what I had in my home and picking my brain for recipes to make. I decided I'd create one of my recipes with a flavorful Duncan Hines Frosting Creations Orange Creme Packet and the other recipe was something I made for some of the crazy adults at the party, vodka worms.
  So it's time to break out all the fun recipes and start organizing the party plans right away.  Even if you don't have a party in your home, this is a fun appetizer to take to any party, or event. 
 
Here is a recipe for a cheesecakeball that I made last year.  After I had won a contest with the Pinnacle Food Company's Duncan Hines Division, I started doing even more with the new flavor packets that the company was putting out. The packets really jazz up recipes in a huge way. Right before halloween last year, I was eating tootsie rolls, (like crazy I might add) and the marraige of chocolate and Duncan Hines Frosting Creations Orange Creme popped into my head. I wanted to see if I could create a true Toosie flavor with this appetizer.  To my delight and that of the party guests, it worked really well.  The candy flavor of this treat was party perfect for Halloween and the flavor is perfect for fall and would be fun for Thanksgiving too.
 

Tootsie Rolled Cheesecake Ball:

1 packet of Duncan Hines® Frosting Creations™ Orange Crème Flavor Mix Packet only
16 ounces of cream cheese
1 cup granulated sugar
1/2 cocoa powder
1/2 cup crushed graham crackers
assorted cookies and graham crackers for serving ( I used Scooby Snack bones shaped grahams)
 
Here are some of the packets that I've collected from Duncan Hines.  I love them and they pack a wallop of flavor. For other recipes using this product, see my recipes for desserts, cakes, and meats, yes..meats, on the Duncan Hines site.
 
 
Pour pack of Duncan Hines® Frosting Creations™ Orange Crème Flavor Mix into a mixing bowl and combine with cream cheese, sugar and cocoa powder.
Mix well and then form into a semi ball in the mixing bowl and chill for a hour.
Once chilled, removed from bowl, form into a ball and roll it into the crushed graham crackers.
Wrap tightly with plastic wrap to hold form and chill for an additional 4 hours or more.
Serve with cookies.


Vodka Worms:
(These can also be made kid friendly by omitting the vodka and adding more water
1 pack (3 oz) raspberry jello
1 tsp unflavored gelatin
1/4 cup whipping cream
1/4 cups boiling water
1/3 cup vodka
a few drops of green food coloring
50 flexible straws plus or minus, depending on your jar
A tall jelly jar. The taller your jar, the longer your worms will be.


 Combine the jello and gelatin in bowl and add boiling water. Let it cool to lukewarm, add whipping cream, vodka and green food coloring, a drop at a time until the mixture resembles that of an earth worm.
Put your straws in the jelly jar or similar tall jar or container. Make sure the jar is packed with the straws and make sure the flex is pulled on them.  That's what gives the realistic look to your worms.


Pour the worm mixture over the straws and let it set until firm in the refrigerator. Give at least an hour until they are firm. To remove worms from the straws, let them sit on the counter for about 10 minutes and squeeze them out by pinching down the straw as you go.  You can also hold the straws under warm water and the worms will slip out but it can be a bit messy since your worms may get slightly wet and sticky.

Enjoy!


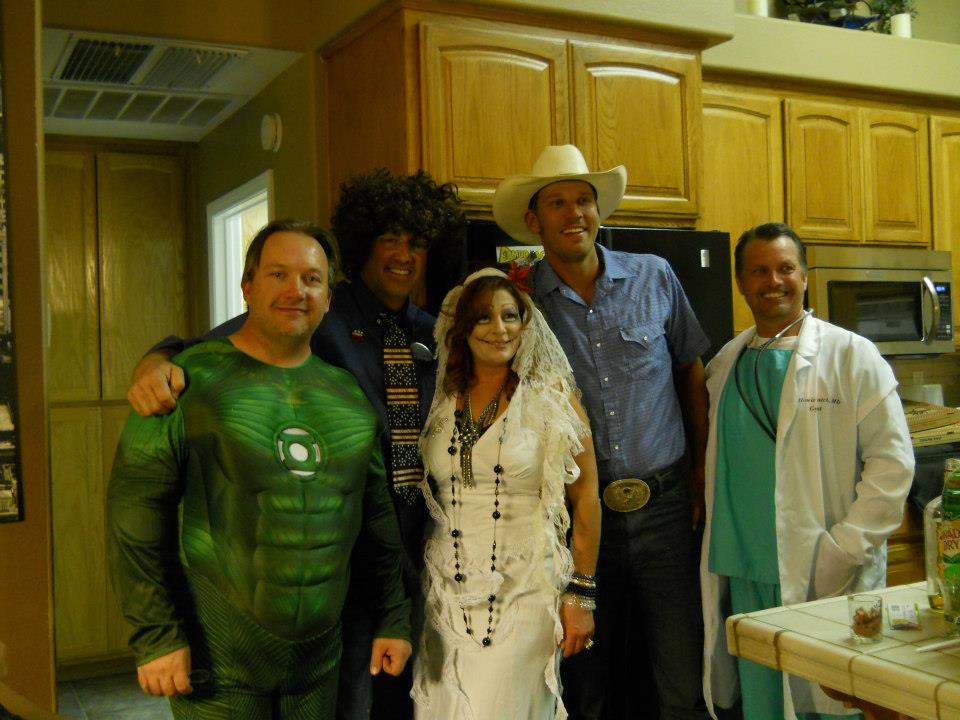
Death Bride Costume
 
Here are a few things I threw together for my costume.  I'll post a close up of the make up job my daughter did on me too.
 
White dress
Lace~ I had about 4 yards of lace sitting in my sewing drawer.  I wrapped it around my body and pinned it to my dress in a couple of places.
Tall black boots
Black jewelry
lace material~ After I teased my hair, I took a piece of lace material and bobby pinned it on the top of my head, kind of like a head band look.  I took scissors and cut the ends of the material to give it a Veil look and make it look rotted, old and choppy.  Ewwww!  But it worked.
I added a red flower to the top of my head too.
A Spider pin
bracelets
Along with the creepy makeup, most of my friends said they couldn't stare at me because it creeped them out.  To me, that was Success! (insert giggles and laughs here!)


My daughter did my make up and made the large whites of my eyes under my eyes with some halloween paint she had purchased.  She lined the fake whites with a black eye liner and made faux lashes under neat.  She also made the eye shadow go above my eye brows and she drew faux eyebrows to give the Big eyes look. I added large fake eye lashes to the tops of my real eyes.  She put a foundation cover stick, the kind for blemishes, and foundation on my lips and drew tiny lips on.  Then she added the stitches to the sides of my mouth to finish the creepy look.
 
What a fun time!


Happy Halloween!