Showing posts with label Duncan Hines. Show all posts

Wednesday, September 11, 2013

Junior Minted Cheesecake Ball

It's apparent that I have a large family. Why? Because every few days I'm blogging about party food, cakes and celebrations.  Yes, I have a  family that keeps me busy with Party planning and baking like crazy. But Gosh, I love 'em for that.  It keeps me on my toes and it gives me the opportunity to come up with lots of new and fun recipes.  And yesterday was my nephew Ryan's Birthday party so I was in the mode of making.
Last year I had fun creating a Cheesecake Ball that tastes just like a Tootsie Roll. I used a little packet by the Duncan Hines company called "Frosting Creations."  Gosh I love how many of those flavor packs I've used to not only flavor my frosting, but I've used in cakes, cream cheese, chocolate and Popcorn.  Here's my plug...Go buy them, they're great!  Recently, one thing lead to another and since Junior mints are my all time favorite movie food, I came up with the idea to take my Tootsie Rolled Cheesecake Ball, tweak it and make a recipe for a Junior Mint one too.   Trust me, I couldn't make it quick enough.  What I really really like about this party food now that I've made it is that I cannot wait until Christmas since this peppermint flavored Cheesecake ball is going to fit in with all my holiday parties!  This flavorful Junior Mints appetizer was just like having Christmas in September.  I'm in Love! Oh, and Merry early Christmas...


Junior Minted Cheesecake Ball

2 blocks chilled cream cheese
1  Duncan Hines Frosting Creations peppermint stick packet (seasonal so get them when you can!)
4 oz pack Junior mint candy
3/4 c. sugar
1/2 c. powdered sugar
1/2 c. chilled butter
Shell~
1- 1/2 cup chocolate chips


With a mixer, cream sugars, butter, frosting creations peppermint packet and cream cheese until fluffy . Add Junior mints and mix just until they start to break up. 

 
Divide into two portions and scrape into the middle of pieces of plastic wrap.  ( I first tried foil here with out thinking about balling it up. Don't use foil.)
 
 
Gather up the sides tight so your mixture forms into the shape of a ball. Secure with a tight ribbon or rubber band so your ball holds its shape and chill it in the refrigerator for all least 8 hours or overnight.


When you are ready to coat your Cheesecake ball, in a large bowl, microwave chocolate chips for about 30 seconds at a time, stirring in between, until melted.  Place unwrapped Chilled Cheesecake balls on a piece of foil or a wire rack.  Drizzle with chocolate until coated.  You can even coat the bottom of your Cheesecake ball if you'd like.   Your ball with instantly harden and is ready to serve. If you used foil, once hardened, you can cut off and trim the excess pieces of chocolate at the bottom with a hot knife. 
Serve with an assortment of cookies.


Oh so very minty and yummy!  As if I wasn't already obsessed with Junior Mints, now I have a great big Junior Mint gracing my kitchen counter... or at least until I eat it all!

Check out my Tootsie Rolled Cheesecake Ball here for another tasty recipe:

http://celebratemywhimsy.blogspot.com/2013/09/tootsie-rolled-cheesecake-ball.html

Happy Celebrating~

Monday, September 9, 2013

Baseball Cake

Today was my son-in-law Tommy's Birthday.  Since I'm the go-to-girl for cakes, my daughter asked me to make Tommy, a die hard Angel's fan, a baseball cake.  She gave me complete freedom to do whatever.  After thinking about it awhile, I decided on a smaller cake with cupcakes. I like the way it turned out and there was more than enough cake for about 30 plus people. This cake was a celebration all itself.

Baseball cake
A few items you'll need:
red food coloring paste writing gel
fine water color type paint brush
Green food coloring
Square pan and half of a ball pan
Decorator frosting (about 8 cups worth)
White fondant
3 cake mixes

 
Bake cakes. I used 3 boxes of Duncan Hines Chocolate cake mix to quickly make my cakes. For my square, I used 1 1/2  boxes of the mix.
 
 
For the half round, I used less than half of the cake mix. And for the cupcakes, I used the remainder of the cake mix.

 
After cakes were cooled, I did a scratch coat of frosting on my round cake.  I cut and filled my square cake and did a scratch coat.  I rolled out a thin layer of fondant and placed it over my round cake.  I gently pushed the fondant around my cake making it nice and smooth and then cut of the excess.

 
I tinted some of my frosting green and frosted my square cake. Here I added the round fondant cake to the top. 
 
 
I took a little bit of my red writing icing and added a drop of water to it.  I mixed it in a bowl.  For this, I made sure the consistency was still thick but thin enough to paint with.  I didn't want any drips or running.

 
I painted on a long line with the red color and then added the stitches.


Once both sides of the ball were complete, I added more green frosting to the cake with a Wilton tip #233. I wanted that grassy field look.

 
Wilton tip#233 
 
 And now my cake's complete and ready to party!


This is what makes it all worth it!

 
Happy Baking and celebrating and of course...eating!


Saturday, August 10, 2013

Campfire-less Smores Sticks

Today is National Smore's Day.  What a Sweet event to wake to.  In honor of this special day, I thought I'd share a recipe I created for a Duncan Hines Recipe contest last year.  Even though I didn't win with this recipe, though I did win with my Holy Spumoni Cake, it was flavorful, easy and very delicious.  If you have children, these are so very kid friendly with no baking required.  These are also the cutest way to celebrate having a super cute kid or adult friendly Smore's Bar.  Have all the ingredients in separate bowls,  and make away.  The bar would be wonderful with a little can or flame and you could all top of your treats with a little flamed mallow. Enjoy~


Here is the recipe~

http://www.duncanhines.com/recipes/specialty-desserts/lombardi-kimberly/campfire-less-smores-sticks


Here is another fun and whimsical recipe, super easy but baking required.  Call this breakfast, you'll love it!

Smore's Cookie Butter Crescents

Tube Crescent rolls
Cookie Butter (I've used Speculoos and Biscoff, both are delightful)
Chocolate chips or  chopped Chocolate bar pieces
Mini bits puffed marshmallows

Preheat oven to 375 degrees.
Unroll crescents and lay on ungreased cookie sheet.  Spread with cookie butter and sprinkle with marshmallow bits and chocolate. Roll up from wide base to the point and bake for 10 minutes or until golden.


And here's my last entry for today, a fabulous, tasty and totally addicting Moose Munch popcorn that I created for Duncan Hines this year. Add some graham too it and you have a wonderful Smore's Moose Munch that you're sure to be addicted to.  Trust me, I mean it!

 
Here's the link to my recipe~  http://www.duncanhines.com/recipes/specialty-desserts/lombardi-kimberly/chocolate-marshmallow-moose-munch


For more fabulous Smore's Ideas, pop on over to my pinterest page to create a smore's buffet for all your party needs.

http://pinterest.com/gurrliegirlkim/s~more-smores/

Happy Eating~


Sunday, July 28, 2013

Progressive Dinner

We are a big happy family.  One thing about our family, we love celebrations and we love making memories.  Well, the last time I picked up my grandma for dinner, when I was taking her home and as we passed all her other grand children's homes, she said she couldn't remember who was who anymore.  Sadly, it comes with age.  However, when I got home, I called everyone in my family and asked them what they thought about doing a Progressive dinner since we all live close to each other.  This way, grandma will visit us and all our homes every other month and hopefully that will make things easier for her to remember.  What is a progressive dinner you ask?  It's a nifty way to share a meal with  your family and friends by each picking up one of the appetizers, salads, entree or dessert.  You simply all meet at the first house, planning about 40 minutes per stop, and then leave to go to the next home and the next.  It's a lot of fun and you only need to cook small bites since you fill up quickly in between.
Here are a few photos and ideas from our night.

For a progressive dinner, you can have a theme, like "Italian food" or "Mexican food" or pretty much anything your heart's desire.  We decided on no theme this time.
Stop 1~ appetizers
Stop 2~ salads and bread
Stop 3~ entree
Stop 4~ dessert
*note~ if you have more people coming that aren't having something in their home, they can bring the bread or they can bring  the sodas or other beverages.


The first stop was at my sister's home for Appetizers.  My sister and her hubby, the nice looking red head below sitting next to my daddy, had chips and salsa, caprese salad spears, meatballs and a nice artichoke dip.
 
 
Here's my grandma enjoying the first stop.


For the second stop, we drove to my brother Bradley's home.  He did the salad.  Look at that proud salad maker.  My adult daughter Erin took the bread she brought here with some butter.
 
 
The next stop was my parent's home.  Here is my beautiful mommy getting ready to serve her enchiladas, rice and beans.
 
 
This is us. As they say, the family that prays together, stays together!
 
 
And last but not least, our home for dessert.
 
 
 Okay, so I was a bit ambitious in how many cakes I made.  However, we had all sorts of events to catch up on and celebrate and I wanted everyone to feel special.
 
 
Here's my son Vince that just graduated from the Wildland Fire academy. I'm such a proud momma.  This was the second cake I made him so he felt real special.
 
 
It was my lovely sister Cheryl and her hubby Jay's 23rd Anniversary.

 
It was also my In law's 55th anniversary too. Gary and Mary...and I love 'em!

 
It was my daughter's 25th Birthday.  Isn't my Erin gorgeous!
 
 
My nephew Ryan was just accepted into the marines. My little dude is all grown up now.  I'm feeling so weepy, but so very proud of him!

 
and here is my grandma, waiting to dig into the cakes. See how cakes make people happy!  I love her smile!
 
 
For Ryan's cake, I did two white layers and one chocolate.  The little stars were just purchased from the 99cent only store.  (Score!) I knew they'd come in handy.


For his cake, I experimented with making ruffles on the side.  It turned out so-so. I needed a bit stiffer frosting for a nicer ruffled look.  But Ryan loved it so no worries here. 

The medallions were made with red tinted white chocolate.  I bought a few molds from a cake and candy supply. They're fun and easy to make by just melting chocolate. And they look so special too.


For my son's cake, I made a chocolate cake with jarred fudge frosting.  It smelled wonderful and tasted wonderful too. I also used a mold to do the picks and the helmets.  For this mold, I added sticks so that I could stand these candies upright. The flames were made with fondant and a Wilton leaf cutter set.
For more on how to do the flames, check the blog entry below...


This is one of my new favorites, a Nude Cake.  They're popping up all over. They're tasty and yet simply elegant.  I bought flowers from my local grocer and adorned the top and front.  A simple powdered sugar made this just a bit sweeter, but you can do a nude cake with or without it.
The really yummy recipe I used to do this cake is below...


For the final cake, I made a Minted chocolate Holiday Cake. Below is the recipe...


This was a chocolate cake on the bottom, next layer Chocolate mint, and the top layer was peppermint stick.  I flavored white cakes using 1 packet of Duncan Hines® Frosting Creations™ Mint Chocolate Flavor Mix and 1 packet of Duncan Hines® Frosting Creations™ Limited Edition Peppermint stick mix.  I called this technique "Cake Creations" and they are so easy to do.  These little packets, and there are many to choose from,  pack a wallop of flavor.


 I hope that you may be able to enjoy a progressive dinner with family and or friends someday and that you may make many memories to share.  Blessings and happy baking~

Friday, July 19, 2013

Woodsy Bark Cake

I am so very proud of my son.  This week he graduated from the wild land fire fighter program in California.  I'm honored to be the momma of a young man that has decided on a very rewarding but a very dangerous job that killed 19 young men just a month ago in Arizona. God be with their families.
For the graduation, my son asked if I would make a cake for the class.  Instantly ideas started buzzing around in my head and I was thrilled to do it.  No problem.  So fast forward to a few days prior to graduation.  I asked my son to give me some details about what they'd like in a cake, like flavor, ideas or anything special.  He then mentioned a few allergies some of the young men had along with it needed to feed 200 people.  It was about then that I think I went unconscious.  For some reason, I just assumed that the cake was for 31 young graduating men and women and I had never given a second thought that all their families would be present for graduation too. So after I came to, I went into freak out mode.  At that moment I knew I would need a full sheet cake board, box and some extra supplies, like 10 cake mixes (especially with time constraints, I wasn't about to make a scratch cake) and whatever else like forms for making the candy decorations.
But after my trip to the cake supply store, I felt much better just being prepared. Since the young men weren't too picky on style, I decided to make a woodsy cake with a green chalk board to merge school with wilderness.  I think it turned out looking pretty nice and the boys thanked me repeatedly, even after they ate a piece of it. And to my delight, a few came back for seconds and cupcakes too.


Needed:
4 boxes of Chocolate cake mix
4 boxes of White cake mix
3 packets of Duncan Hines Frosting Creations Mint Chocolate
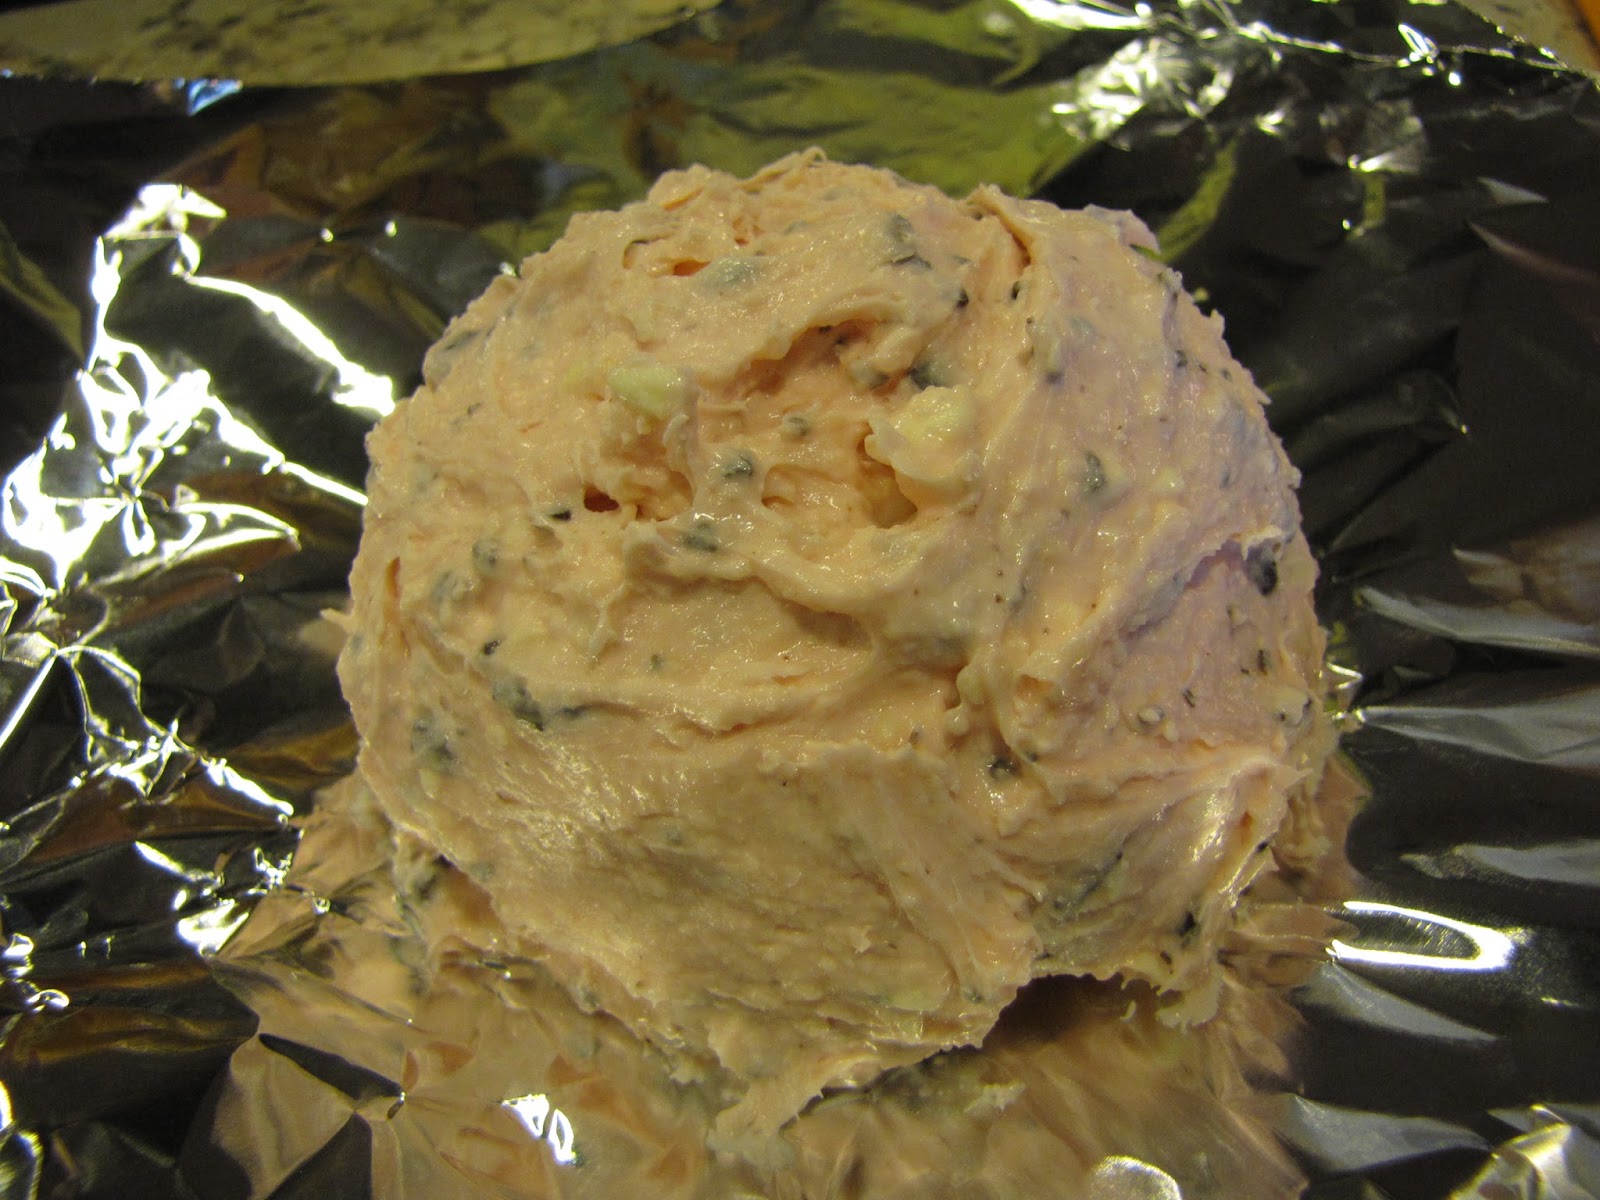
Yellow fondant, red fondant or white fondant that you can tint.
 White chocolate colored yellow
Piping bags
Small round tip, Medium round tip, star type tip, frosting scraper
Butter cream frosting (lots of it) I made about 3 batches of it.
Hershey's cocoa powder
Brown tint
small water color style paint brush
 

To make this full sheet cake, and 120 cupcakes, I used 10 boxes of cake mix.  I used 5 boxes of white and 5 boxes chocolate but for the cake I only need 8 boxes. Since I only have One half sheet pan, I decided I'd make two different cakes.  I was going to do a chocolate white marble and a chocolate mint marble cake. I figured it gave more selection for the families to choose from.  To do the marble effect, I made two boxes of chocolate cake and poured it into a prepared pan and then made the 2 white cake mixes and poured them on top. (* Note~ I cut out paper towels to fit the bottom of my pan and only spray the sides of my pan with cooking spray.  Then the cake pops right out and doesn't have a greasy top.) Then I took a butter knife, stuck it into the cake mix and swirled it around a few times from edge to edge  lifting the knife up and down every once in awhile.  You'll be able to see swirls but don't mix it too much.  You want a nice clean marble look. Bake.
For the second cake, I made the two white cakes and mixed in the Duncan Hines Frosting Creations Mint Chocolate packets for a really nice and minty flavor.  I poured this on the bottom of the pan.  Then I made the chocolate cake and poured it on top of the mint cake and swirled it around with a knife a few times.  I baked it until it was ready, about 50 minutes.
When the cake was cool, using a serrated knife,  I cut the top off the cake so that it was flush with the pan. This way I got the same size height on my cakes.  If your cake is smaller than the pan, you may have to cut them after wards to even them out.


Turn the cake out onto the sheet cake board. If you look really good, you'll see I have thin strips of wax paper at the edges of the board. This is for when I frost it, I can pull the wax paper away afterwards and have a clean board still.  That's when I do my finishing touches.
 

Pull the paper towels off here if you used them.
 

While I was waiting for the second cake to bake, I started on my fondant.  Using this large leaf cutter from Wilton, I started making my fire.


I rolled out the red fondant onto a flat surface lightly dusted with cornstarch.


I used a flat and super thin spatula to pick up my fire flames and placed them on wax paper.


Then I made small flames with the smallest  cutter.  I brushed a small bit of water with a paint brush onto the yellow flames and placed them onto my red flames to dry.

 
For an added effect, I took left over red and yellow fondant, mixed them together and made these orange flames. I really liked them this color.  
 
 
So now my second cake was done,  so I placed them together, filled it with frosting and trimmed the edges.
 

Isn't that pretty. =)
 
 
I frosted the cake with a scratch coat of un-tinted frosting.  Then I took about 2 cups of frosting, added about 1/4 cup of cocoa powder and stirred it  until  it started to turn light brown but I made sure that there were still bits of chocolate powder throughout.  Using a spatula, I frosted the parts shown along with the edges.
 
Using this scraper tool, I lightly scraped the brown frosting  starting at one side of the cake and running it down the frosting to the other side of the cake. Then I took my spatula and very gently went over the frosting again but leaving some of the roughness. I want the frosting to look rough but not too perfectly scraped looking.  This is were it starts to look woodsy.
 

I took a little bit of water and mixed some brown food coloring into it.  Using a paint brush, in miscellaneous and random places, I brushed brown lines into the frosting like it shows below.
 
 
I did this on the sides and on top.   Then I took about 1 cup of white frosting and tinted it forest green, then I spread it nice and evenly in the middle.  Using a warm spatula that has been dipped in hot water, I smoothed out the green frosting.  (*note~ this is were I remove the wax paper from under my cake edges by pulling gently.)  Using excess brown frosting in a piping bag, pipe the edges around the base of the cake.  I used an open star tip #32.  I also piped s patterns around the chalk board.
 

I tinted a small amount of white frosting yellow and with a medium round tip, piped the words.  For the pine tree branches, I took the brown piping bag with the  star tip and  made a little branch, then with a super small round tip, took the green frosting and pulled little needles onto the branches.  

 
For my finishing touches, I had made lemon yellow chocolate molds and added them onto my cake along with my fondant flaming fire.  
 
  
This is me and my lovely daughter at 4am, making cupcakes. See all those boxes. Yikes!
 
 
 Fireman hats...
 
...and some flames.   
 
...and here are the lovely men and women that graduated. Our Heroes!
 

And here is our son. Proud momma I am.
 
 
Love our boys (and daughter's too!)