Saturday, August 31, 2013

The Thanksgiving Table

 
One holiday that I am most thankful for is Thanksgiving. It's a time when family and friends come together and celebrate all they are thankful for and the blessings that they have been given. I love spending each and every moment with my company and I also love giving back to them whenever possible.  This gathering I put on was for them, the ones I love, the ones I cherish, the ones God has blessed me with. This was also a birthday party for my son and a 25th anniversary celebration for hubby and I. Three parties in one....
and it was absolutely lovely, simple and fun.
 
Here are a few of the decorating ideas that I did for next to nothing.
 
 
I added a sprig of orange above my mirror.  This brought in some of the fall colors.  It was something someone had given me the year before as a gift.  For the flags, I used twine and unlined (computer) paper. I simply cut triangles, used a hole punch and punched holes on both sides of the top of the triangles and then strung them with twine. With a pencil, I added letters and once they looked good and I was happy with the sizes, I used a felt pen to color them in.  This hung above my dessert table/ candy buffet. 


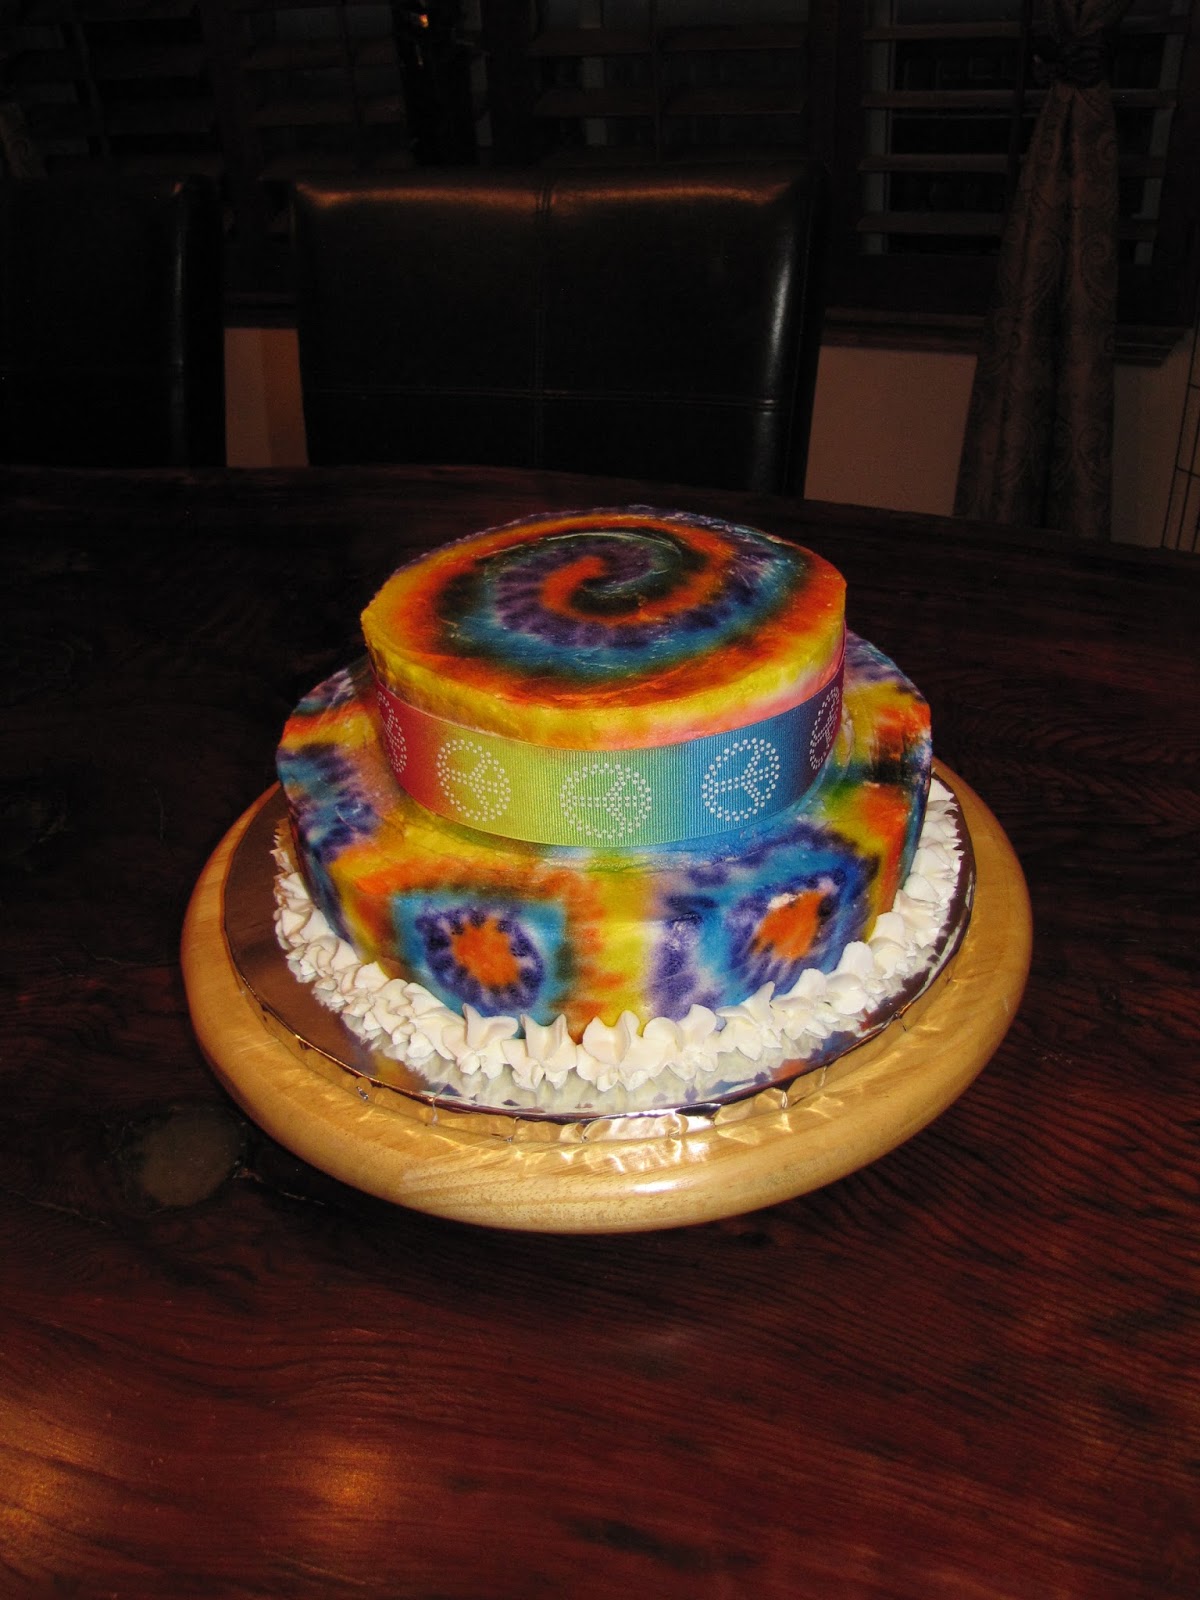
I made a simple cake and covered it in homemade fondant since I had no time to run to a bake and cake supply.  It was so simple to make with marshmallows, one thing I always have on hand in my home.  (You'll soon know I'm a roasted marshmallow junkie and roast them over my stove all the time for a quick snack.)
Here is a link to a recipe just like the one I used~
 
For the flag on top of the cake, I used grocery sacks and cut them into triangles, glued buttons on them and then glued them onto twine that I tied onto  two wooden skewers.   I also used fresh flowers in front and added a sash to the bottom of the flags and a ribbon to the bottom of the cake.


For the table setting, I found round cut logs for my table and used fresh vegetables like artichoke, pumpkin, dried corn cobs, grapes and fresh sunflowers. After the event was over, the foods I used to cook with and eat.  I gave the pumpkins to everyone that came. Then I printed a thanksgiving blessing and added it to the setting.  After adding candles, the table looked complete.

 
Here's another view.

 
 For my little food area, I used my coca cola crate, which I adore, to gather up my utensils and such.

 
Here's the dessert table with all items added.


This is what one of my displays looked like until I added the finishing touches. You can see the big log I stole from hubbies fire log pile.  (I did eventually let him burn them but I held them for almost a year before I could part with them.) They added nice height to the table.

 
Me and the hubs. Happy 25th anniversary hubby.


This is my candy buffet bar.  It was smaller than usual because I had made so many desserts.  I found as many orange, yellow and red candies as I could for this.


And when my family and friends left, they left with a SwEeT reminder of the thanksgiving celebration we had just celebrated.
 
Happy Baking, Making and Eating~

Sprinkles Flower Cake

I'm passionate about baking.  I just really love it.  For me it's a fine escape away from the daily schedule, breaking it up into more enjoyable moments.  So when it's party time, people know who to call when they need a cake or cupcakes.  But in this situation, I had wanted to try making this sprinkles cake for awhile so I volunteered.  Yea me.


I decided to make a 4 tiered cake.  Now normally, for a client, I would cut the tops of the cake to make this a totally even and pretty layered cake.  I decided to not do it on this cake since I knew I could hide the flaws easily.  Plus I wanted more cake for the party.  But honestly, I don't recommend not cutting the tops evenly off for that perfect look and perfect fit. (I can hear my kids now telling me to practice what I preach!)
I assembled the cake and did a scratch coat of frosting covering the whole cake.  I chilled it overnight until the frosting was hard.


The next day, to prepare for my cake, I put almost the whole jar of non pareils into a jelly roll pan. The large jar from a super store like Smart N Final, Costco Wholesale or a baking supply carries these large jars. If your super market only carries the small 3 oz jars, you may want to buy 6 of them for this cake.


I made another batch of frosting and re-frosted the cake sides. * Note* what I learned is that a thin coat of fresh frosting is better than a thicker coat. Below, a few steps down, you'll see why.


I used two small spring form pan bottoms to support my cake on the top and bottom but you can use cardboard just as easily.


Remember when I said thinner frosting is better than thick? Sometimes less is more. When I turned my cake to roll it on the sprinkles, due to the weight and excess frosting I had on the cake, the frosting started to seep through the sprinkles onto my pan and mess up my pan by sticking to the bottom of it.  It was kind of a sticky mess, but it was an easy fix. However next time, I will frost thin. I rolled the cake over the sprinkles a few times to coat most of it.


Using the palm of my hand, I was able to push extra sprinkles into the sticky parts after I set the cake back upright. It started looking nice and festive.  Then I put a dollop of frosting on the top, spread it out and sprinkled it with the remaining candy sprinkles.  Using my hand, I lightly pushed on the sprinkles to set them in place and give my cake a nice clean shape.


I did the border at the bottom.


Because this cake was for my son-in-law's auntie, I added fresh florals to the top to make it more personal.  My son-in-law's auntie is a florist, so the cake turned out perfect and made for her.  Plus, I think it looks it more festive and whimsical with the florals.  If you don't want florals, this would look spectacular with a homemade topper also (I'll add an example at the end of this post).


Happy Birthday Teri! Now blow out your candles so we can eat cake!


Here it is...yum yum!


*Here's another valuable hint*~  Do not let your hubby cut a piece of cake unless he is absolutely skilled in cutting 4 layered cakes. Sprinkles could end up everywhere and you may find them in all corners of your kitchen for months to come.  Hehehe


Here's and example of a homemade topper.  You can use any left over material, bows or ribbon to make something like this. 


 I've even used buttons and grocery sacks for the one pictured here too.  Be creative, make it your own.


All it takes it two wooden skewers, some string and some imagination.


Happy Baking, Making and Eating!


Sunday, August 11, 2013

Pepperoni Basil Panini


My son has been on this Panini kick lately.  I'm so very happy since I bought a panini maker years ago and maybe used it 10 times. It's been sitting around collecting dust in the cupboard but now he's dusted it off and put it to great use. What a noble idea right?  He's been making all sorts of fun sandwiches and dreaming up new ideas, some, I'm not too keen on but he's a happy boy.  Well, the other day I was going through Pinterest (I love love love Pinterest!) and I saw a saucy basil and cheese sandwich.  Considering the fact that I own a Pizza restaurant, the Pizza Factory in Phelan, I have plentiful pepperoni.  Years ago, a distant family relative introduced us to Pepperoni Sandwiches and I was in love.  So I decided to marry the two today and thus, a celebration was born.  Yep, this normally found on a pizza concoction was now a quick and simple panini, made in seconds. I'm in Heaven and trust me, this sandwich is a reason to celebrate any day!

Pepperoni Basil Panini

Sheepherders bread (or your favorite kind)
Pepperoni slices (thin)
provolone cheese slices
fresh basil leaves
tomato sauce (add pinch of salt, pinch of dried oregano and pinch of dried basil and a pinch of pepper to this)

Assemble as follows~
bread, cheese, sauce, pepperoni, basil, cheese bread.  Sandwich together and press in panini maker or in a pan with a plate on top with a brick or large rock on it. ( In my area, we have big rocks!)
Enjoy the party in your mouth! Oh yum!


Saturday, August 10, 2013

Campfire-less Smores Sticks

Today is National Smore's Day.  What a Sweet event to wake to.  In honor of this special day, I thought I'd share a recipe I created for a Duncan Hines Recipe contest last year.  Even though I didn't win with this recipe, though I did win with my Holy Spumoni Cake, it was flavorful, easy and very delicious.  If you have children, these are so very kid friendly with no baking required.  These are also the cutest way to celebrate having a super cute kid or adult friendly Smore's Bar.  Have all the ingredients in separate bowls,  and make away.  The bar would be wonderful with a little can or flame and you could all top of your treats with a little flamed mallow. Enjoy~


Here is the recipe~

http://www.duncanhines.com/recipes/specialty-desserts/lombardi-kimberly/campfire-less-smores-sticks


Here is another fun and whimsical recipe, super easy but baking required.  Call this breakfast, you'll love it!

Smore's Cookie Butter Crescents

Tube Crescent rolls
Cookie Butter (I've used Speculoos and Biscoff, both are delightful)
Chocolate chips or  chopped Chocolate bar pieces
Mini bits puffed marshmallows

Preheat oven to 375 degrees.
Unroll crescents and lay on ungreased cookie sheet.  Spread with cookie butter and sprinkle with marshmallow bits and chocolate. Roll up from wide base to the point and bake for 10 minutes or until golden.


And here's my last entry for today, a fabulous, tasty and totally addicting Moose Munch popcorn that I created for Duncan Hines this year. Add some graham too it and you have a wonderful Smore's Moose Munch that you're sure to be addicted to.  Trust me, I mean it!

 
Here's the link to my recipe~  http://www.duncanhines.com/recipes/specialty-desserts/lombardi-kimberly/chocolate-marshmallow-moose-munch


For more fabulous Smore's Ideas, pop on over to my pinterest page to create a smore's buffet for all your party needs.

http://pinterest.com/gurrliegirlkim/s~more-smores/

Happy Eating~


Sunday, August 4, 2013

Hippy Chic Bridal Shower

I was recently asked to help my sister with a bridal shower she was hosting for her lovely friend. The bride to be really wanted a Hippy Chic style shower.  I instantly started going through as many Tye dye or hippy style cakes as I could.  In the end, I derived my own idea by trying to work in fresh flowers and using my airbrush.  If you don't have an airbrush, the design below will be very tricky but you can always use different colored frosting, pipe it into designs and then smooth it out with a warm knife.  
Here are a few ideas below for your own party.

For the cake, I made a two tier and frosted it with a rich butter cream. This was a white cake with fresh sliced strawberries to go with a summer day. I airbrushed this cake and let it dry in the fridge over night.  The morning of the shower, I added a sash of ribbon that I found at Michael's craft store and pinned it on in the back.  Then I added fresh flowers and some grass spray on the top. 


I swirled the top so that if it showed through the flowers, it still have a finished look.

 
My sister wanted the cake displayed in front of her stairwell. This shot shows how a simple area can blossom and really look even nicer in pictures with a few close ups. 


I used simple crepe paper for this area.  You can also use strips of material but this is a more economical way to decorate.  The end result was still very classy and whimsical. I stapled (since my sis doesn't own pins) to the top of her wall.  Then I twisted slightly and stapled at the bottom to hold the paper securely in place. The wind couldn't blow this down if it tried! 
 
 
Here is where I added fresh white and orange daisies.  I used a thread and needle for just the blooms.  I went through the back of the bloom with the string.  I stapled the top of the string to the top of the wall and tied it on, I adjusted the flowers and let them hang.  

 
My sister also bought a few lovely bouquets that we arranged for the candy buffet and cake table.  I love fresh flowers and since the bride's colors were blue, purple and orange, I thought these gorgeous orange sunflowers that we found at Costco wholesale were just dreamy.


For one of the candy ideas, my sister took chocolate candies that were coated purple and placed them in a large martini glass. She add beautiful candy rock swizzle sticks in blue and purple. Yum.


 While I was inside decorating, my sister and the bride to be's mommy decorated the outside.  Here is a lovely table display they set up using martini glass favors, candles and fresh flowers.


They also hung fun and whimsical paper lanterns.


A couple days prior to the shower, I had found these cute little ducks in the brides colors.  The fact that they had purple peace signs on them added to the hippy charm.  We floated these around the pool.   I lucked out and found 7 of them at the 99cent only store.  Gosh, I love that store, it's like a party in a box sometimes!


This is a nice shot of the tables set up.  Hi to my mommy and hi to my sis in the back ground.  Talk about hard workers!

Here are some cute little charms the mommy of the bride found for each of the glasses.
 
These were some of the favors for the ladies in attendance. Since it was a pool party too, they had chap sticks with peace symbols, and also plastic take home water bottles.  Talk about spoiled guests.

 
That's me, my sis and my lovely momma. At this point, we were all finished with an hour to spare.


Here's the lovely bride to be.


I really really enjoyed helping with this shower.  It was fun, colorful and completely whimsical. And from what I hear, the bride and the guest all loved it too.